
I’m sure this has happened to you. You buy a new shiny piece of silver jewellery, and after a while you don’t wear it as often, so it sits on your dresser (or heaven forbid, in your bathroom – the worst place to store your jewellery!). A few months later you look at it and it’s not so shiny any more. It might have a dull yellowish tint, or it might even look dark grey. Damn damn damn! Now it’s useless and you can’t wear it at all any more, right? Wrong! You can clean silver, easily and safely (even the kids can help).
There are a few things you can do to prevent tarnishing, or at least slow it down dramatically – you can read my tips for caring for your jewellery here. However, eventually you may end up with tarnished pieces no matter what you do (especially if you live in a region with high humidity – Mother Nature can be very unforgiving). It’s a fact – tarnish happens. Unfortunately the only way to prevent it *entirely* is to keep it hermetically sealed in a dry, dark place – but what’s the point of that?!
You might be surprised to learn that the best way to keep your silver jewellery from tarnishing is to wear it often. This is particularly true for rings, as the friction caused by your fingers, and clothing – basically everything you touch – prevents tarnish from occurring. However, tarnish, otherwise known as oxidation, is an environmental chemical reaction, and will probably happen eventually to some extent no matter what. Luckily, there is an easy, non-toxic, DIY method of banishing that tarnish!

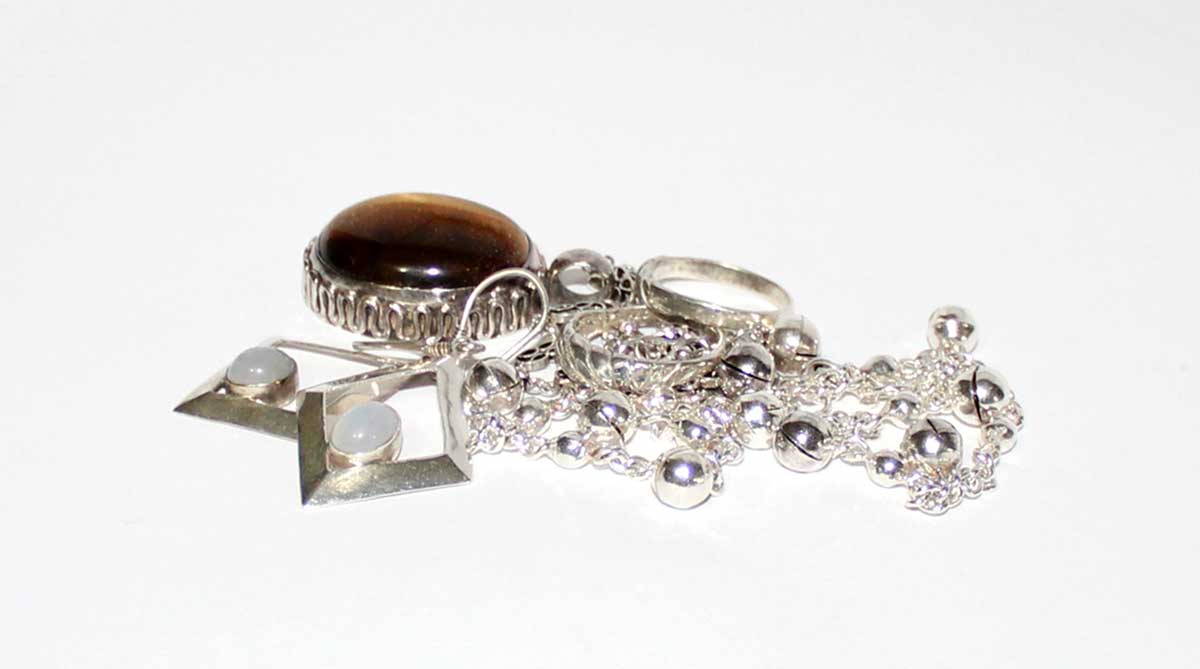
Examples of tarnished jewellery. YUCK, right? Let’s see what happens when we clean it using the method outlined below…


Example of polishing cloths
Tarnished jewellery can be a giant pain-in-the-you-know-what. The good news is that it doesn’t have to be! A good preventative measure is to get into the habit of occasionally buffing your jewellery with a polishing cloth. Some styles have a white polishing layer while others have a red polishing layer (the latter is infused with a polishing compound called “rouge”). With both of them, you rub the jewellery with that layer and then buff with the other side.
These cloths will remove light tarnish, and are good for routine cleaning. However, they are less effective with heavy tarnish, and it’s not easy to get the cloth into nooks and crevices. One thing to keep in mind that with any polishing method (cloth, liquid dip, baking soda or toothpaste), along with the tarnish you are removing a microscopic layer of the silver.
Now we get down it: How DO we clean silver?
So that brings us to the Magic. But don’t worry – it’s easy and quick! Note that with very heavily tarnished pieces, you may have to repeat these steps a couple of times.
Preparation
First, line a glass or ceramic dish with aluminium foil. Do not use an aluminium or metal pan!
Lay out your jewellery pieces on the foil, with as much of the tarnished surfaces as possible touching the foil.
Boil water (enough to cover the jewellery completely) and pour it into a container about twice as large – i.e. if you have 2 cups of water, pour it into a container that holds at least 4 cups.
Add approximately 2 tablespoons of baking soda (not baking powder) and 1/2 a teaspoon of sea salt per cup of water (measurements do not have to be exact) to the boiling water. Stir until the soda and salt are dissolved. Don’t be alarmed – it will fizz up! (Hence the reason for the large container).

Add the jewellery to the dish, and add the soda and salt to boiling water…
Next Steps
Immediately pour the water over the jewellery. You may need to spread the jewellery out again, as it will shift while you pour. Optional: press another layer of foil on top of the jewellery; lightly though – you don’t want to squeeze the water out.
Leave the dish alone for a while. The more tarnished the jewellery is, the longer “percolating” time it needs.

Voilà! Clean silver!
Remove the jewellery from the water and rinse each piece in clean water until it no longer feels slippery. Be sure to stop up the sink or do this over a clean pan – you don’t want to lose your pieces down the drain! Dry each piece with a soft lint-free cloth. Dispose of the water and the foil.
If your jewellery still has a bit of tarnish, repeat the above steps. Pieces with lots of nooks and crannies, like chains, will probably need more than one treatment. Remember to use new foil with each round – you will notice that the foil you just used is discoloured. This discolouration, in non-technical terms, is the tarnish that was removed from the silver!
So there you have it – clean silver! Kind of magic, right?
The great thing about this method is that instead of removing a layer of silver as described above with other polishing methods, the tarnish is actually converted back into bright silver, rather than rubbing it off. With those other methods, over time, texture and other details get rubbed off too – or, if it’s silver-plated (like your grandmother’s old spoons or serving platters) rather than solid silver, you can actually end up rubbing all the plating off, revealing the base metal underneath.
Jewellery with patina applied? Use a soft cloth to clean it instead!

Photo courtesy of my friend Jessica of Mystic Soul Jewelry
NOTE: Do not use this method on jewellery to which the artist has applied a patina to emphasize texture or details. Just as with pieces oxidized by nature, the patina will be removed. For these kinds of pieces, stick with polishing them with a soft cloth.
Do you have more questions about how to clean silver? Drop me a line!
Want to receive advance notice of awesome new stuff?
Become a Windsong VIP!